Ive been using a split keyboard at home now for several years (specifically, the UHKv2, though nowadays I probably would have gone for something ortholinear) and ive always wanted one for the office. The problem was, if I was going to get a new keyboard, I wanted it to be for both the office and travel, and most prebuilts around are not that portable. I also was not confident enough in my soldering skills to solder the SMT diodes found on many handbuilt designs out there. Eventually though, I stumbled upon the github page for the Ferris Sweep.
The Basic Build
The Sweep seemed simple enough that I could assemble it, and after doing some shopping around, I was able to source all the parts I needed for under $100. I ordered the pcb from JLPCB and the parts from Keebio and Lowprob.ca, and started the long wait for it all to arrive.
In the meantime, I researched how to flash the elite-pi’s I had purchased with QMK. (Normal elite-c’s were out of stock, and I like the RP2040.) Its a little bit different, but as long as you have used QMK before, it isnt much extra.
When the parts came, I socketed the microcontrollers, soldered the sockets to the pcbs, and finally soldered the switches in. (I used choc purpz, a bit of a leap of faith from my usual heavy tactile switches). I did ruin one switch by letting a leg getting hot enough to melt the housing plastic, and desoldering it was unexpectedly difficult, but not every build can be mistake free, right?
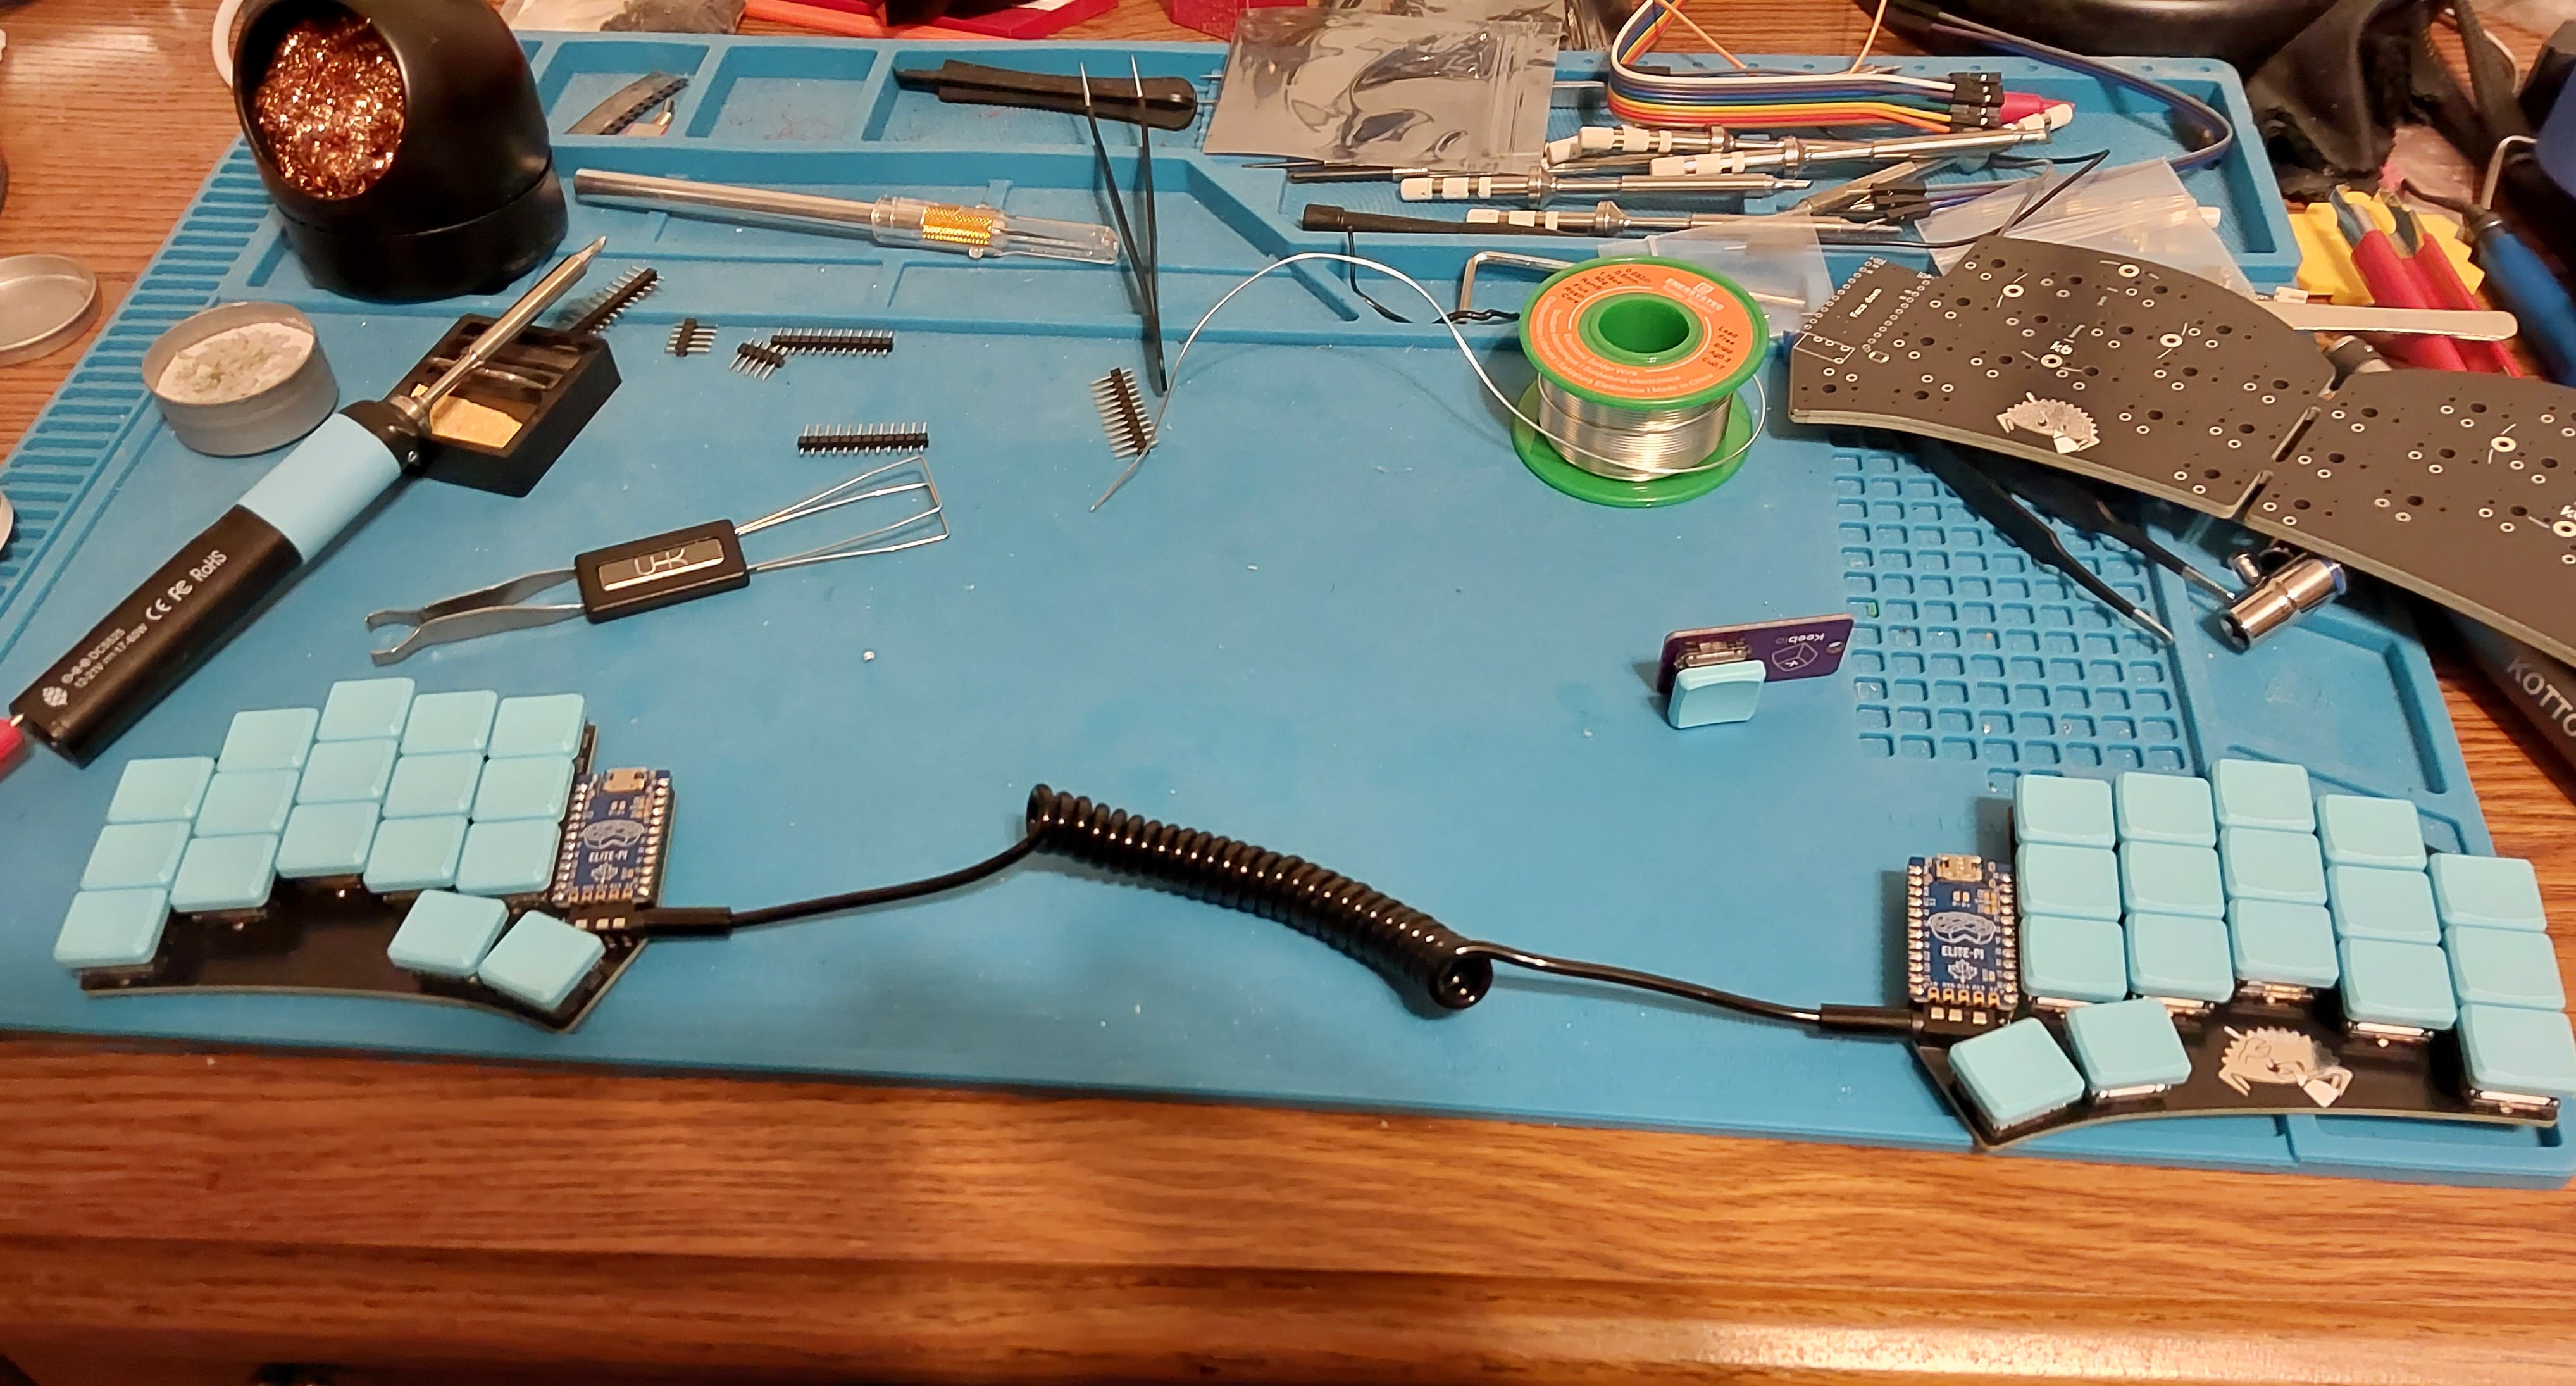
Flashing QMK was uneventful, working exactly as the QMK docs for the Ferris Sweep suggested. I would, however, recommend flashing the micros before doing any soldering, I had to take my micros out of their sockets in order to access the boot buttons. (once the keyboard is assembled, there is a dedicated keycombo on most layouts to enter the bootloader, so you dont have to do this every time you reflash your keyboard)
Layout
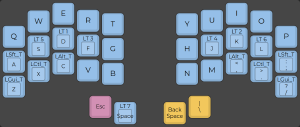
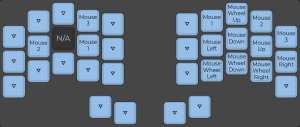
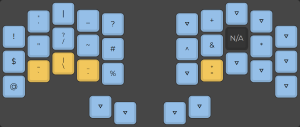
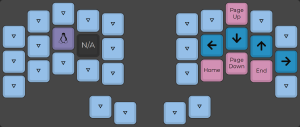
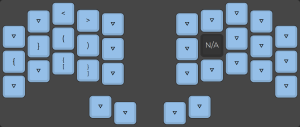
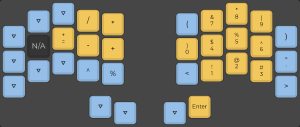
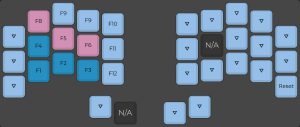
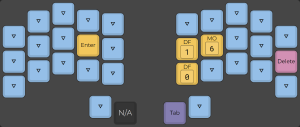
I wasnt feeling quite adventurous enough to switch away from qwerty, but, the Sweep being a 34-key board, some layout adjustment would be needed. I took the Sweeps default layout and used the QMK configurator to customize it.
First, I moved space to my left thumb, as Im left handed. I put esc on one of the thumb keys for usage in vim. I moved the numpad layer to my right hand side, swapping its position with the function key layer. I also put the meta key as a hold-mod on the lower pinky keys, as my window manager uses it for all its keybinds.
The mod-tap home row layer changes actually feel really natural, and the extra space afforded by layers allows me to organize things in a more natural feeling way, such as putting the numbers in a numpad layout, rather than along the top. Im not quite happy with my modifiers being mod-taps on the bottom row, they can feel slightly awkward to reach, and I may experiment with moving them around, potentially on the top row.
Learning
Of course, the board takes some getting used to. Between the physical layout of the keys, the layout making symbols different to type, and the lighter switches requiring a lot less force to actuate, it took me about a week before I got up to 50 wpm on it, and I still have to look at my keymap printout for symbols sometimes.
However, all things considered, it was easier to learn than I had expected! Perhaps its because I already was used to split keyboards, or because I forced myself to use this instead of my ’normal’ keyboard at work, but I am now at the point where it feels natural to type on.
Case
I want this keyboard to be both my work keyboard as well as my travel keyboard, so a case is essential. (I dont want to carelessly set it down on a conductive surface and fry the micros, for example) I asked a friend to print this case for me. (I didnt have any TPU on hand.) With the case and some rubber feet to keep it from sliding over the surface, it becomes a very serviceable little travel keyboard, one I can throw in my laptop bag and use in place of the built-in keyboard.
Caveats
Of course, nothing is perfect. The microcontrollers are still exposed, meaning they are vulnerable to static shock. The headphone jack connecting the two halves is a design flaw, as plugging it in or unplugging it while the keyboard is connected to usb has a chance of shorting out the microcontrollers, due to the design of the TRRS plugs. (unfortunately, they are one of the smaller form factor 4 wire connectors out there, and have firmly entrenched themselves in the keyboard building community.) Thankfully, both of these issues have a relatively minor chance of happening, and if they do, I did socket the microcontrollers for easy replacement.
Conclusion
It took me all of a week to fall in love with the sweeps form factor, and, 1 month later, Im convinced I will never let myself work on a regular keyboard for a long period of time again, thats how much Ive come to appreciate split keyboards. The fact that the board has no pesky diodes or other surface mount parts means its very accessible first build, and one Id recommend to anyone interested in improving their typing ergonomics.

